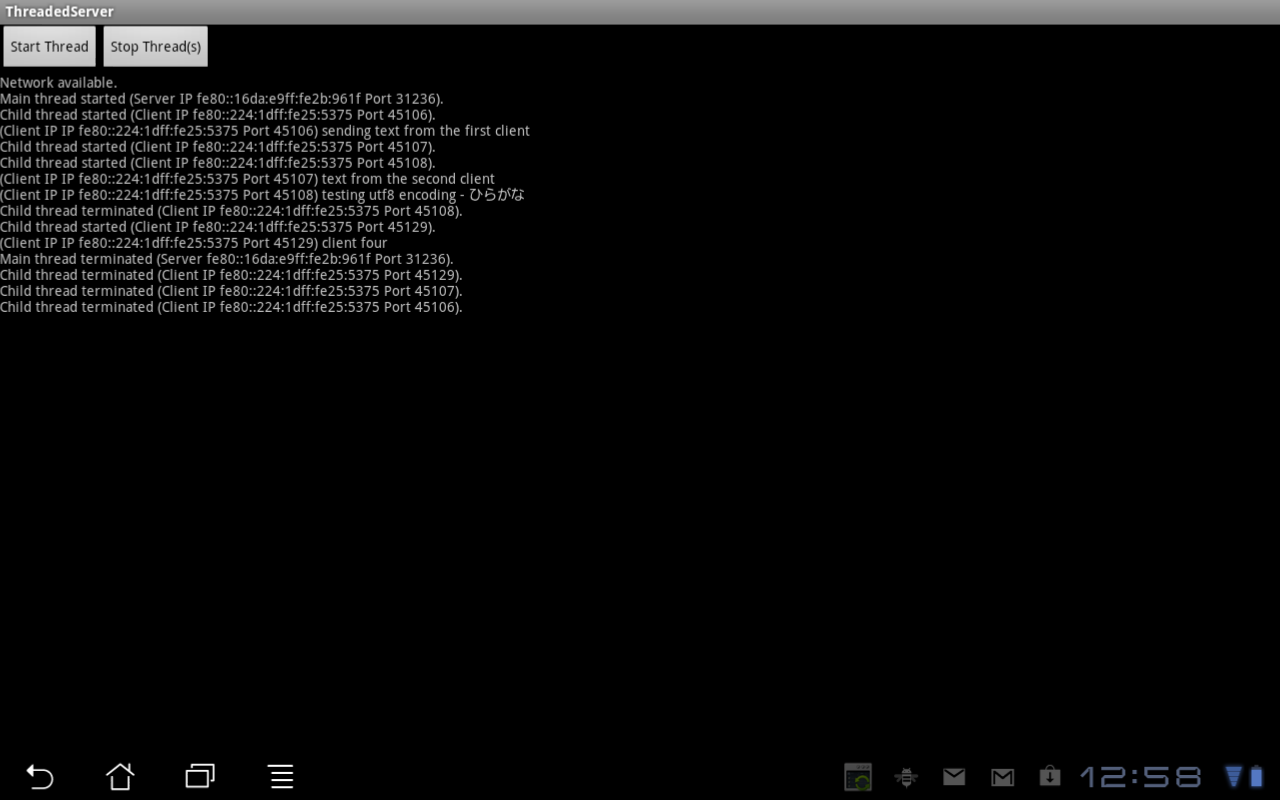
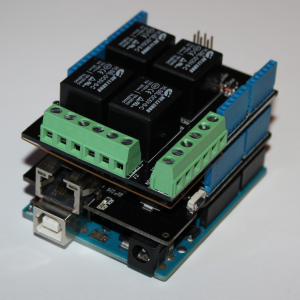
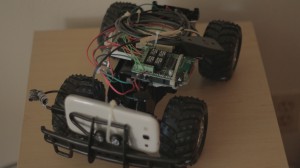
In this post we will create a basic concurrent server using threads in Java. The server will be implemented for the Android platform as part of a larger project to control a USB interface board remotely. Below are two screen captures. The first shows a state of the server after a few clients have connected and sent data. The second shows the terminals for the four clients.
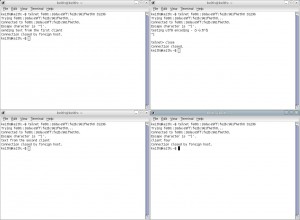
We will first take a look at our user interface. The main.xml file is given below. We have two buttons for starting and stopping our threads and a TextView widget wrapped in a ScrollView for rendering the output.
<?xml version="1.0" encoding="utf-8"?>
<LinearLayout xmlns:android="http://schemas.android.com/apk/res/android"
	android:orientation="vertical"
	android:layout_width="fill_parent"
	android:layout_height="fill_parent"
	>
	<LinearLayout xmlns:android="http://schemas.android.com/apk/res/android"
		android:orientation="horizontal"
		android:layout_width="fill_parent"
		android:layout_height="wrap_content"
		>
		<Button android:id="@+id/startThread"
			android:text="Start Thread"
			android:layout_width="wrap_content"
			android:layout_height="wrap_content"
			android:layout_centerHorizontal="true"
			/>
		<Button android:id="@+id/stopThreads"
			android:text="Stop Thread(s)"
			android:layout_width="wrap_content"
			android:layout_height="wrap_content"
			android:layout_centerHorizontal="true"
			/>
	</LinearLayout>
	<ScrollView android:id="@+id/scroll"
		android:layout_width="fill_parent"
		android:layout_height="fill_parent"
		>
		<TextView android:id="@+id/log"
			android:layout_width="fill_parent"
			android:layout_height="fill_parent"
			android:singleLine="false"
			android:text=""
			/>
	</ScrollView>
</LinearLayout>
Next, we have a ThreadedServer class which extends the Activity class and defines our main application. Within ThreadedServer we define a couple of helper methods to detect if the network is available and another to enumerate our network interfaces and return an InetAddress.
	private boolean isNetworkAvailable() {
		NetworkInfo networkInfo = ((ConnectivityManager)getSystemService(Context.CONNECTIVITY_SERVICE)).getActiveNetworkInfo();
		return networkInfo != null && networkInfo.isConnected();
	}

	private InetAddress getInetAddress() {
		try {
			Enumeration<NetworkInterface> enum_networkInterface = NetworkInterface.getNetworkInterfaces();
			while (enum_networkInterface.hasMoreElements()) {
				NetworkInterface networkInterface = enum_networkInterface.nextElement();
				Enumeration<InetAddress> enum_inetAddress = networkInterface.getInetAddresses();
				while (enum_inetAddress.hasMoreElements()) {
					InetAddress inetAddress = enum_inetAddress.nextElement();
					if (!inetAddress.isLoopbackAddress()) return inetAddress;
				}
			}
		} catch (SocketException e) {
			log.append(e.toString()+"\n");
			scroll.fullScroll(View.FOCUS_DOWN);
		}
		return null;
	}
Within our onCreate method, we grab the TextView and ScrollView widgets in addition to the buttons. We then bind the respective click event handlers to the buttons. The handler for the stopThreads button simply sets our runThreads flag to false to terminate our threads. The handler for the startThread button checks if the network is available and, if so, grabs the IP address and starts our server thread.
	@Override
	public void onCreate(Bundle savedInstanceState) {
		super.onCreate(savedInstanceState);

		setContentView(R.layout.main);
		log = (TextView)findViewById(R.id.log);
		scroll = (ScrollView)findViewById(R.id.scroll);

		runThreads = false;

		stopThreads = (Button)findViewById(R.id.stopThreads);
		stopThreads.setOnClickListener(new View.OnClickListener() {
			public void onClick(View v) {
				runThreads = false;
			}
		});

		startThread = (Button)findViewById(R.id.startThread);
		startThread.setOnClickListener(new View.OnClickListener() {
			public void onClick(View v) {
				if (!runThreads) {
					boolean networkAvailable = isNetworkAvailable();
					log.append(networkAvailable ? "Network available.\n" : "Network unavailable.\n");
					scroll.fullScroll(View.FOCUS_DOWN);
					if (networkAvailable) {
						InetAddress inetAddress = getInetAddress();
						ipAddress = inetAddress != null ? inetAddress.getHostAddress().toString() : "";
						runThreads = true;
						new Thread(new ServerThread()).start();
					}
				}
			}
		});
	}
Below is the ServerThread object. Within this object we use a ServerSocketChannel in order to set the mode of this channel to non-blocking. Our stopThreads button can then terminate this thread. Once the non-blocking mode is set we grab the socket and bind it to our port. We then enter our main loop and wait for client connections. When a client connection is accepted, we spawn a thread for that client.
	public class ServerThread implements Runnable {
		public void run() {
			handler.post(new Runnable() {
				@Override
				public void run() {
					log.append("Main thread started (Server IP "+ipAddress+" Port "+PORT+").\n");
					scroll.fullScroll(View.FOCUS_DOWN);
				}
			});
			try {
				serverSocketChannel = ServerSocketChannel.open();
				serverSocketChannel.configureBlocking(false);
				serverSocket = serverSocketChannel.socket();
				serverSocket.bind(new InetSocketAddress(PORT));
				while(runThreads) {
					SocketChannel socketChannel = serverSocketChannel.accept();
					if (socketChannel != null)
						new Thread(new AcceptThread(socketChannel)).start();
				}
			} catch(IOException e) {
				final String err = e.toString();
				handler.post(new Runnable() {
					@Override
					public void run() {
						log.append(err+"\n");
						scroll.fullScroll(View.FOCUS_DOWN);
					}
				});
			}
			try {
				serverSocketChannel.close();
			} catch(IOException e) {
				final String err = e.toString();
				handler.post(new Runnable() {
					@Override
					public void run() {
						log.append(err+"\n");
						scroll.fullScroll(View.FOCUS_DOWN);
					}
				});
			}
			handler.post(new Runnable() {
				@Override
				public void run() {
					log.append("Main thread terminated (Server "+ipAddress+" Port "+PORT+").\n");
					scroll.fullScroll(View.FOCUS_DOWN);
				}
			});
		}
	}
Lastly, we have our AcceptThread object to handle client communications. When this thread is spawned in the server thread, the SocketChannel result of the accept method is passed to the AcceptThread constructor. Communication with this client will then be performed over this socket channel. Below we set the mode of this channel to non-blocking and enter the thread's main loop. Within this loop, we attempt to read from the socket channel and store the result in a ByteBuffer. We then pass this buffer to an instance of CharsetDecoder to convert our byte sequence into a UTF-8 character sequence. Data transferred from the client to the server is then rendered in the TextView.
	public class AcceptThread implements Runnable {
		private SocketChannel sc;
		private String socketAddressStr;
		private boolean runChild;
		public AcceptThread(SocketChannel socketChannel) {
			sc = socketChannel;
			socketAddressStr = "IP "+sc.socket().getInetAddress().getHostAddress().toString()+" Port "+sc.socket().getPort();
			runChild = true;
		}

		public void run() {
			handler.post(new Runnable() {
				@Override
				public void run() {
					log.append("Child thread started (Client "+socketAddressStr+").\n");
					scroll.fullScroll(View.FOCUS_DOWN);
				}
			});
			try {
				sc.configureBlocking(false);
				while (runThreads && runChild) {
					ByteBuffer buffer = ByteBuffer.allocateDirect(1024);
					buffer.clear();
					int bytesRead = sc.read(buffer);
					if (bytesRead == -1) {
						runChild = false;
						sc.close();
					} else if (bytesRead > 0) {
						buffer.flip();
						Charset charset = Charset.forName("UTF-8");
						CharsetDecoder decoder = charset.newDecoder();
						final String buf = decoder.decode(buffer).toString();
						handler.post(new Runnable() {
							@Override
							public void run() {
								log.append("(Client IP "+socketAddressStr+") "+buf);
								scroll.fullScroll(View.FOCUS_DOWN);
							}
						});
					}
				}
			} catch(IOException e) {
				final String err = e.toString();
				handler.post(new Runnable() {
					@Override
					public void run() {
						log.append(err+"\n");
						scroll.fullScroll(View.FOCUS_DOWN);
					}
				});
			}
			try {
				sc.close();
			} catch(IOException e) {
				final String err = e.toString();
				handler.post(new Runnable() {
					@Override
					public void run() {
						log.append(err+"\n");
						scroll.fullScroll(View.FOCUS_DOWN);
					}
				});
			}
			handler.post(new Runnable() {
				@Override
				public void run() {
					log.append("Child thread terminated (Client "+socketAddressStr+").\n");
					scroll.fullScroll(View.FOCUS_DOWN);
				}
			});
		}
	}
This is simply a preliminary server module intended for a larger project. We used telnet to connect to our server as a client, so we will eventually create a specialized client application. Additionally, we'll need to add the hooks to the server to interface with a USB board. If you have any comments or suggestions, let me know.
Download this project: ThreadedServer.tar.bz2
